The school year has started back up, and that means it might be time to start thinking about upcoming science fair projects.
Don’t even think about building a Baking Soda/Vinegar Volcano.I’m not kidding. Â Step. Away. From. The. Volcano.
However, if you/your child is interested in acid and base reactions, this is a good first step towards a science fair project that won’t make your teacher want to shut herself in the broom closet and sob quietly for the rest of the day. It is NOT a science fair project by itself * but it can add an extra dimension to an Acid/Base experiment.
Purpose: Â To create a homemade pH indicator, that will let us know if the material we want to work with is an acid or base.
Materials:
- Knife/Blender
- Microwavable Bowl or large pot
- Water
- Strainer or coffee filter
- large jar
- at least 1/2 red cabbage
Method:
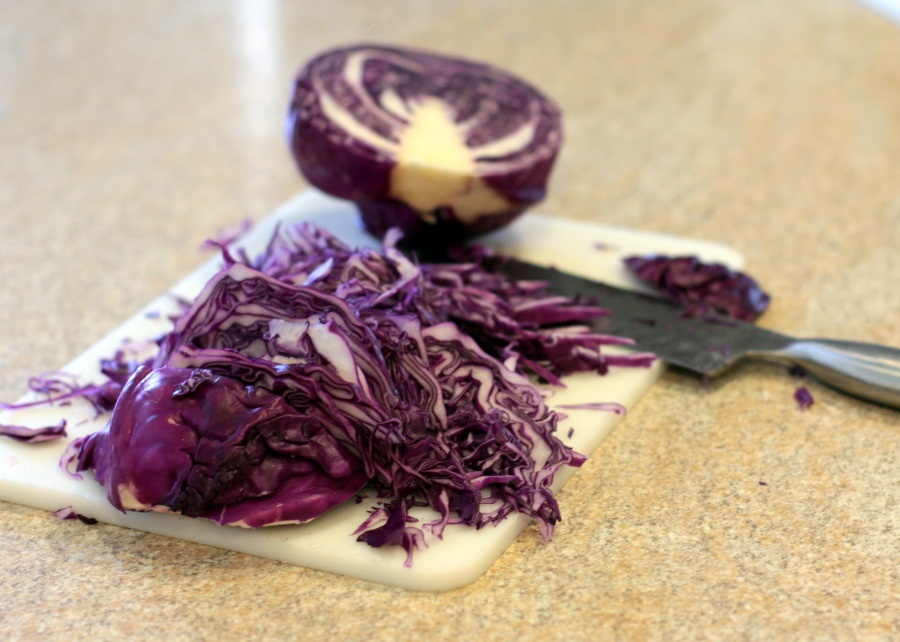
- Chop your cabbage up. I suggest cutting pretty small pieces, but not so small that you need a coffee filter to filter out the solids after you finish. Â It’s best to chop them large enough that you can use a fine colander or s
trainer to filter out the pieces. You can certainly ignore that suggestion and use the coffee filter, but my way is easier (and faster).Â
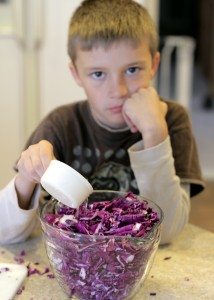
- If you want to use the microwave, put the cabbage in a large, microwaveable bowl. Add enough water to almost cover cabbage, cover the bowl, and microwave for 3-5 minutes. Don’t leave it unattended; if the cabbage water begins to boil over, turn the microwave OFF and consider the cooking portion finished. Let cool. See how my overly-excited boy is enjoying himself?

- If you want to use the stove, put your cabbage into a large pot. Add enough water to almost cover the cabbage. Bring the water to a boil, and boil for no more than 3-5 minutes. Don’t leave it unattended; if the cabbage water begins to boil over, turn the stove OFF and consider the cooking portion finished. Let cool.
- A third option involves pouring boiling water over your cabbage (till almost covered), and covering. Let sit until cooled.
- A fourth option, which I’ve seen used in schools, is to put all of the cabbage in a large ziplock bag, add hot tap water, seal it and leave in the classroom sink or a tub, overnight. In the morning, cut a corner and let drain into a jar.
- Using the coffee filter, and or strainer, drain the (cooled!) water from the cabbage into your clean jar.
- If your homemade indicator solution appears to be too dilute, you can boil it down until it’s as concentrated as you’d like. It won’t hurt the indicator.
Your water will be a deep purple/blue, depending on the pH of your water. It should be fairly close to pH=7 (Neutral).
Recall: pH=1-7 is acidic. Â pH = 7-14 is basic.
Now, for testing (Boo had a lot more fun testing items, than he did creating the pH indicator solution):
- Pour 1-4 T of the substance you want to test into a clear or white bowl/small glass/test tube. ‘Cuz we should all have test tubes lying around the house (see mine?)
- Add a few drops of your homemade indicator solution to the substance you want to test.
- Swirl gently to mix (especially important if you test something like Clorox Bleach. Be careful and use common sense when testing any substance!) Add a few more drops if you’d like, to see what will happen.
- Very generally, the indicator will turn shades of pink in the presence of acids. The indicator should turn blue, then green, and finally yellow in the presence of bases.


I am looking to open an online store but I haven’t found a product to sell all I see online is how to pick a product and how to sell them I have been looking in videos and web pages and haven’t found out what and how to sell on my new online store ? any information will help thank you
A fantastic read. I’ll certainly be back.
Hey there, I went looking for you from the January boards. 🙂 This looks like a fun experiment, thanks for sharing it! We may definitely need to give this a try at our house!